


Tutorium Communication Networks
Using Windows Live Messenger
4 Establish a video conference
| There are two ways to establish a video conference: a) Set the mouse pointer over the name of the contact with whom you what to establish a video conference. Then, will appear a menu at one side of the window where the second option it shows is to establish a video conference (“Videokonferenz starten”). 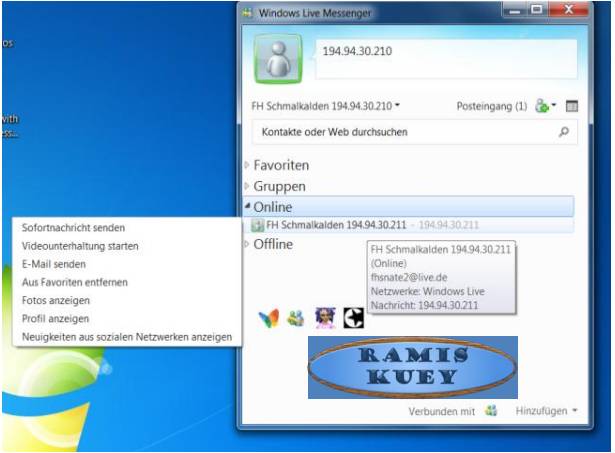 Just click on such option and a new conversation window will appear in both sides, the side of the user and the side of the contact. 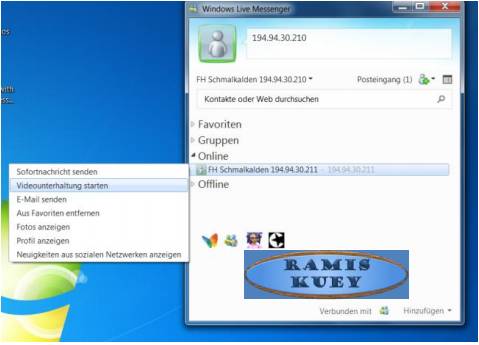 To see what’s next you may want to avoid the point b of this part of the document. Nevertheless, if you want to know the other way to establish the video conference, you may read such information in the following paragraph. b) To proceed the second way to establish the video conference, set the mouse pointer over the name of the contact with whom you want to establish the video conference and click on the right button of the mouse. It will appear a menu which’s second option drives to establish the video conference. 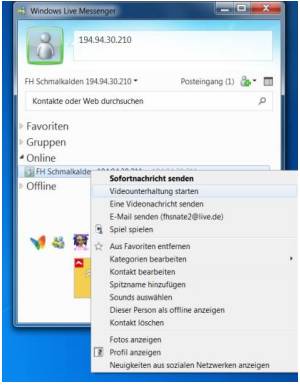 Once you have followed all the steps like described before you will find a conversation window like mentioned in the previous paragraph “a)”. At this point should appear a conversation window at both sides, caller and called user. In the window of the caller side should appear the image captured by the video camera which is connected to the computer used by such caller, as well as the conversation frame where appears the option to cancel the call (“Anruf Beenden”).  In the window of the called user should appear a window in which’s dialog frame will be shown the options to accept (“annehmen”) the video conference, cancel (“ablehnen”) the conference or accept the only an audio conference (“Ohne Video annehmen”), like it is shown in the following figure. To accomplish the video conference, the called user must click on the option “accept” (“annehmen”), and then both sides should see the images caught by the video devices installed on both computers like it is shown in the following image. Now everything should be ready to complete the task related to the videoconferencing test. |
CategoryTutorienFKETSoSe12
Diese Seite wurde noch nicht kommentiert.